Category: AX 2012

  • Service items vs. Not stocked Products vs. Charges

    Service items vs. Not stocked Products vs. Charges

    In AX 2012 the Item model group property Stocked product was introduced.

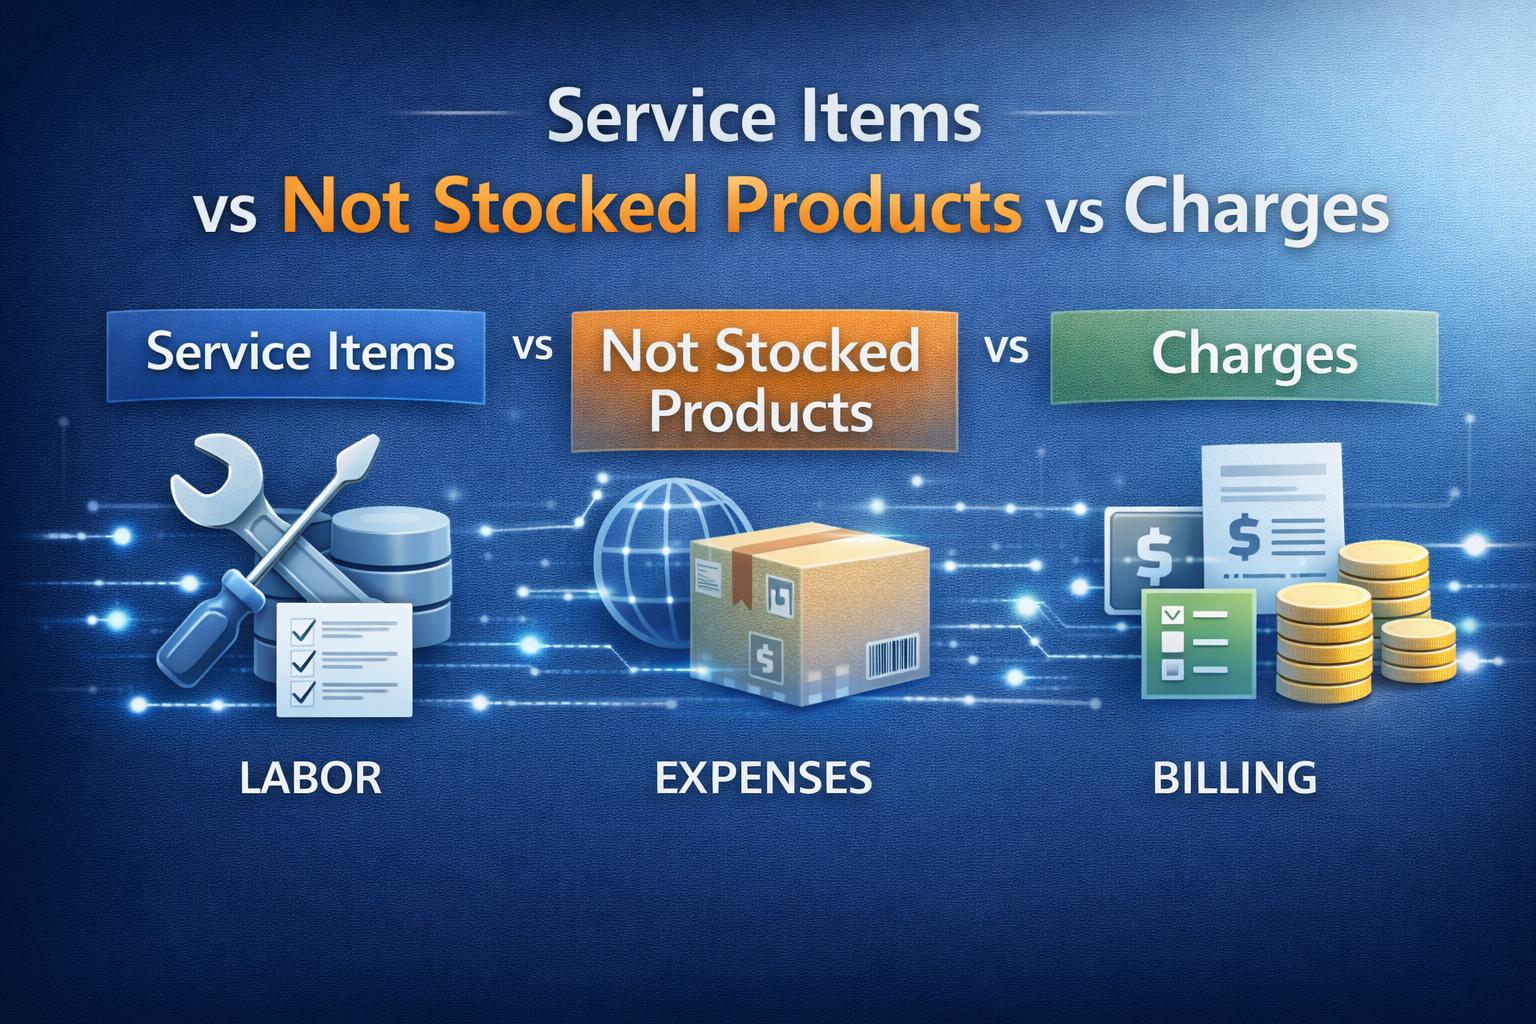
    The not stocked products (i.e. products with Stocked product = No) lie somewhere between Service items (i.e. products with Product type = Service) and Charges, without providing a clear distinction between types. Here a comparison with the primary disadvantages highlighted:

    Service itemNot stocked
    product
    Charge
    Product typeServiceItem or Servicen/a
    Item model group – Stocked ProductYesNon/a
    Add to BOM/productionYesNoNo
    Inventory transactionsYesNoNo
    Inventory on handNoNoNo
    Automatic addition to orderNoNoYes
    Integrate in Product Release Workflows / PLMYesYesNo
    Visibility during order entryNormalNormalReduced
    Texts printed on reportsNormalNormalReduced
    SO PickingOptionalNoNo
    SO PackingOptionalIncluded in quantity setting “Picked quantity and not stocked product”No
    SO InvoiceNo quantity setting to include service items that have not been picked or packedNo quantity setting to include service items that have not been picked or packedAutomatic
    Advanced WarehousingNoNoNo
    Consequences
    Why does it exist?For Services and item without stock levels (or with uncounted stock levels e.g. screws, water). They can be used like any product, however their use has no impact on stock levels and vice versa.Unsure why this was introduced instead of fixing the disadvantages of the charges and service itemsFor Freight, Insurance, Packaging
    Question: Find all uses of a productGo to inventory transactions directly on itemNo inquiry available directly from itemNo direct inquiry available
    Question: Find all non-stock/service productsDirectly visible in released product listMore or less visible depending on the naming of the item model group – for a good overview add it to the grid as personalisationSeparate parameter forms
    Unplanned use in BOM e.g. as proper component in manufacturing or as dummy component is setsNo problemNot possibleNot possible
    Change to normal stocked itemNot possibleNot possibleNot possible
    Recommendations
    Scenario 1: Probably as MS intended, less flexibility, no mod desiredUse service items only for items to be used in BOMs; do not allow sale of service items.Use not stocked products for all sellable services.
    Note: Reporting cannot be based on InventTrans.
    Can be replaced by not stocked products, however note that some standard features expect the use of charges e.g. e-Invoice (ITA) expects the Bollo to be a charge. ==> keep using charges for items that clearly have a charge character.
    Scenario 2: More flexibility (Service items sold and used in BOMs. Separate items not desired.)Only use service items.Do not use not stocked productsUse as intended.
    Comparison of Service items, Not stocked Products and Charges

    Comments on the primary disadvantages

    Service item – Picking and Packing requirements

    Not stocked products are considered int the Quantity setting “Picked quantity and not stocked product”, i.e. they do not have to be picking. Service items do not have the corresponding setting, i.e. some way hast to be found to get the service items on the invoice

    • Option 1: Workaround that includes the service items in picking.
    • Option 2: Implement a modification to provide support for service items when in the Quantity setting “Picked quantity and not stocked product”

    Not stocked product – no inventory transaction, can’t be added to BOM

    As there are no inventory transactions the not stocked products cannot be added to a BOM, i.e. they cannot be used for floor stock or outside production service items. Reports based on (or inner-joining e.g. to get costs) InventTrans will not include these items.

    Charges – reduced visibility during sales order entry, less texts

    Users get used to the reduced visibility and printing of texts can be mitigated by adjusting the reports – still items on the sales order provide a more intuitive handling.

    Further reading

  • Comparison: “Use futures date as requirement date”

    Comparison: “Use futures date as requirement date”

    Setup

    Master plan setup – Use futures date as requirement date

    pl-PO Use Futures date as Requirement date = Yes

    20161115_01

    pl-PO Use Futures date as Requirement date = No

    20161115_02

    pl-PO + pl-Prod Use Futures date as Requirement date = No

    20161115_03

    Coverage group – Action Basis Date

    Action Basis date = Requirement date

    20161115_04

    Action Basis date = Futures date

    20161115_05

    Test cases

    Scenario

    Sales order with confirmed delivery date: 16.11.2016; the lead time setup of the purchase item (M0009) doesn’t allow the PO to be on time.

    20161115_06

    pl-PO Use Futures date as Requirement date = Yes; Action Basis date = Requirement date

    20161115_07

    pl-PO Use Futures date as Requirement date = Yes; Action Basis date = Futures date

    20161115_08

    pl-PO Use Futures date as Requirement date = No; Action Basis date = Requirement/Futures date

    Note: Changing Action Basis date does not have an affect

    20161115_09

    pl-PO + pl-Prod Use Futures date as Requirement date = No; Action Basis date = Futures/Requirement date

    Note: Changing Action Basis date does not have an affect

    20161115_10

    Recommendation

    USE: Use Futures date as Requirement date = Yes; Action Basis date = Requirement date

    With this setting the system tells you what is late and what you should try to do about it.

  • Minimal Setup for new Workflow

    Minimal Setup for new Workflow

    Sumit created nice overview of workflow-implementations in AX:

    Developing a new Workflow

    The section below describes briefly, the process of developing a new workflow.

    Overview

    To develop a new workflow, following artifacts or objects need to be created / modified:

    • Workflow Categories
    • Workflow Templates
    • Workflow Query (Document)
    • Workflow Approvals and Tasks (Tasks are optional)
    • Enabling the workflows on the form
    • Workflow submission classes

    Let us go through each of these artifacts one by one:

    Create Workflow Categories

    A workflow category defines the module in which the workflow will be available. Modules are defined by the SysModule enum. You will be doing following here:

    • Create a new category in workflow categories node (AOT>>Workflow>>Workflow Categories)
    • Specify the name and module to which it belongs

    Create Workflow Templates (AX 2012: Workflow Types)

    A workflow template brings all the different elements of the workflow together. Workflow configurations are created based on a template, and many configurations can be based on the same template. The template defines which actions are allowed and which are required.

    You will be doing following here:

    • Create a new template in the workflow templates node (AOT>>Workflow>>Workflow Templates) (AX 2012: AOT>>Workflow>>Workflow Types)
    • Specify a name and category to which it belongs

    Next we create a work flow document.

    Create Workflow Document

    A query defines what tables are used to determine that a workflow can be initiated. Here you will do the following

    • Create a new query (AOT>>Queries)
    • Specify a name and Add required tables to the data source.
    • Create a new class extending from WorkFlowDocument class (AOT>>Classes)
    • Override the method getQueryName and return the name of newly created query
    • Save the class
    • Once query and its supporting class is created, attach this to Workflow template (Specify it under the Document property of template; AX 2012: type)

    Next step is to attach Approvals and / or Tasks

    Create Workflow Approvals (or Tasks):

    An approval route may contain a number of outcomes. It may be approved, rejected, returned or a change may be requested (For task it will be complete, reject or request change). The Workflow Approval element determines which of these outcomes is allowed and what happens in the event of each outcome. Each outcome can trigger specific code by specifying a menu item for each item. Do the following to create an approval

    • Create a new approval object in the Approvals node. (AOT>>Workflow>>Approvals)
    • Specify a unique name for the approval
    • Specify the Document (The class created for query) in the Document property
    • Specify ParticipantProvider. Normally you specify WorkflowUserGroupParticipantProvider, but you can create your own participant provider. (Missing in AX 2012)
    • Specify DueDateProvider. Normally you specify WorkflowWorkCalendarDueDateProvider, but you can create your own due date provider. (Missing in AX 2012)
    • Specify HierarchyProvider. Normally you specify WorkflowLimitHierarchyProvider, but you can create your own hierarchy provider. (Missing in AX 2012)
    • Set the DocumentMenuItem to form menu item where you want the workflow to appear (Example sales order etc.)
    • Approval Outcomes:
      • Use a standard class that acts as an engine for all approval outcomes
      • You are not required to do anything but set the workflow to applicable outcomes, therefore call the same class from different menu items. The menu items simply allow you to use two different labels. In more complex workflows it may be necessary to override or copy and modify this class rather than use it directly. Example: If you have to set an outcome for Approved do the following:
        1. Create a new Action type menu item and specify a name to it
        2. Set ObjectType property to Class and Object property to WorkflowWorkItemActionManager
        3. Now get to Workflow>>Approvals>>Approval_you_created>>Outcomes>>Approve node and specify ActionMenuItem as new menuitem created before.
        4. Repeat Step 2 for all the outcomes you need
      • If you do not need an outcome you can simply disable it by changing Enabled property to No
    • Once completed, drag and drop this approval (or task) into the previously created workflow template (AX 2012: Worfklow Type)

    Enable workflow on a form

    Now that the workflow template is defined, you can specify which forms will use this template. Do the following:

    • Add a WorkflowState field (More can be added by CreatedBy, Time, Status etc.) to the required table
    • In the desired form, go to the design node properties and set property WorkFlowEnabled to “Yes”, set the WorkFlowDataSource (the table of the previous step) and (AX 2012 only) set the WorkflowType as defined above.
    • If you want, you can override the method canSubmitToWorkflow on the form and specify conditions when user can submit the record to workflow

    After enabling the workflow on class, create a class to submit the records to workflow

    Create a Submit to Workflow class

    To submit a document to workflow, call standard code to prompt the user for a comment and to process the submission. (Look at PurchReqWorkflow class for an example)

    • After creating the submit to workflow class, create a corresponding action menu item
    • Now traverse to the workflow template (AX 2012: Worfklow Type) and specify this submit to workflow class menu item on the SubmitToWorkFlowMenuItem property
    • Once this is done you can then configure the workflow and test it. (You can refer the Workflows – Installation and Configuration document that I sent earlier for configuring the workflows)

    This will give you a broad idea as to what needs to be done for creating a workflow.

    Compile

    In AX 2012 it is required to update CIL before the Workflow can be configured.

    (updated for AX 2012 on 07/07/2014)

  • Product configurator data structure

    Product configurator data structure

    Even though AX 2012 uses the Microsoft Solver Foundation which is not directly accessible to a developer, all data is stored within AX and can be worked with at will. See the follow overview of the data structure:

    AX 2012 Product Configurator

    Note that most of the data is global, just the PCTemplateComponent table has company specific entries; the table is used for templates – as the name suggests – but also for the item references eg. for Configurator BOM lines.

  • Add document to record

    Add document to record

    Simple code snippet to add a document attachment to a record:

    static void addDoc( Common common, DocuTypeId docuTypeId, FileName fileName)
    {
        DocuRef docuRef;
        DocuValue docuValue;
        if(common && docuTypeId)
        {
            ttsBegin;
            docuRef.clear();
            docuRef.initValue();
            docuRef.TypeId = docuTypeId;
            docuRef.Name = filename;
            docuRef.RefRecId = common.RecId;
            docuRef.RefTableId = common.TableId;
            docuRef.RefCompanyId = curext();
            docuValue.initFromDocuRef(docuRef);
            docuValue.insert();
            docuRef.ValueRecId = docuValue.RecId;
            docuRef.insert();
            ttsCommit;
            if(filename)
            {
                //after ttsCommit to enable catching of file system errors
                DocuValue::writeDocuValue(docuRef,filename);
            }
        }
    }
    
  • Edit System Fields

    Edit System Fields

    Simple example for creating a record with systems fields set by code:

    protected static server CaseLog createCaseLog(RefRecId _caseDatail, CreatedBy _createdBy, CreatedDateTime _createdDateTime)
    {
        CaseLog caseLog;
        if(_createdBy && _caseDatail)
        {
            caseLog.initValue();
            caseLog.CaseRecId = _caseDatail;
            new OverwriteSystemFieldsPermission().assert();
            caseLog.overwriteSystemfields(true);
            caseLog.(fieldNum(CaseLog,CreatedBy)) = _createdBy;
            caseLog.(fieldNum(CaseLog,CreatedDateTime)) = _createdDateTime;
            caseLog.doInsert();
            caseLog.overwriteSystemfields(false);
            CodeAccessPermission::revertAssert();
        }
        return caseLog;
    }
    
  • Show configuration on hand

    Show configuration on hand

    The constraint based configuration is saved in relation to the configuration-number (InventDim.ConfigId), however all you see in the On-Hand form is the number.

    If you want to see the full configuration that was entered by the user, you can add a simple button to the On-hand form (InventOnhandItem) and override the clicked() method with the following code:

    void clicked()
    {
        PCExecuteVariantConfiguration executeVariantConfiguration;
        ProdTable                     tmpProdTable;
    
        tmpProdTable.InventDimId = InventDim::findOrCreate(inventDim).InventDimId;
        tmpProdTable.ItemId      = InventSum.ItemId;
    
        if(PCRuntimeLibrary::isConstraintBasedConfigurable(InventSum.ItemId))
        {
            executeVariantConfiguration = PCExecuteVariantConfiguration::execute(tmpProdTable, InventSum.ItemId, inventDim.ConfigId);
        }
    }


    Result:

    Open configuration from the on-hand form
    Open configuration from the on-hand form
  • Vendor On hold: “No” vs. “Never”

    Vendor On hold: “No” vs. “Never”

    Have you ever wondered what the difference is between “No” and “Never” in the “On Hold” options of the Vendor?

    snap02371

    The is only one Difference: The “Vendor inactivation” function will ignore vendor marked with “Never”.
    Procurement and sourcing > Periodic > Vendors > Vendor inactivation

    snap02370

  • Showing hidden fields in the table browser

    Starting off with this blog, I had my own ideas how to add the hidden fields to the table browser with a significantly lower development footprint: Private Project_Table Browser_2012.xpo

    One hidden field:

    One hidden field

    Multiple hidden fields:

    More than one hidden field

  • Comparison Framework Sample : BOM Version comparer

    I found this blog post Comparison Framework Sample: BOM Version comparer.

    Mkz created a BOM version comparer based on the comparison framework tutorial allowing you to see the line by line differences between BOM versions. I made a quick upgrade to AX 2012 and it now compiles without best practice errors.

    BOMComparer_AX2012.xpo

    Note: The performance is not very good, when the BOM is complex with many levels and many bom lines over the levels.