Sumit created nice overview of workflow-implementations in AX:
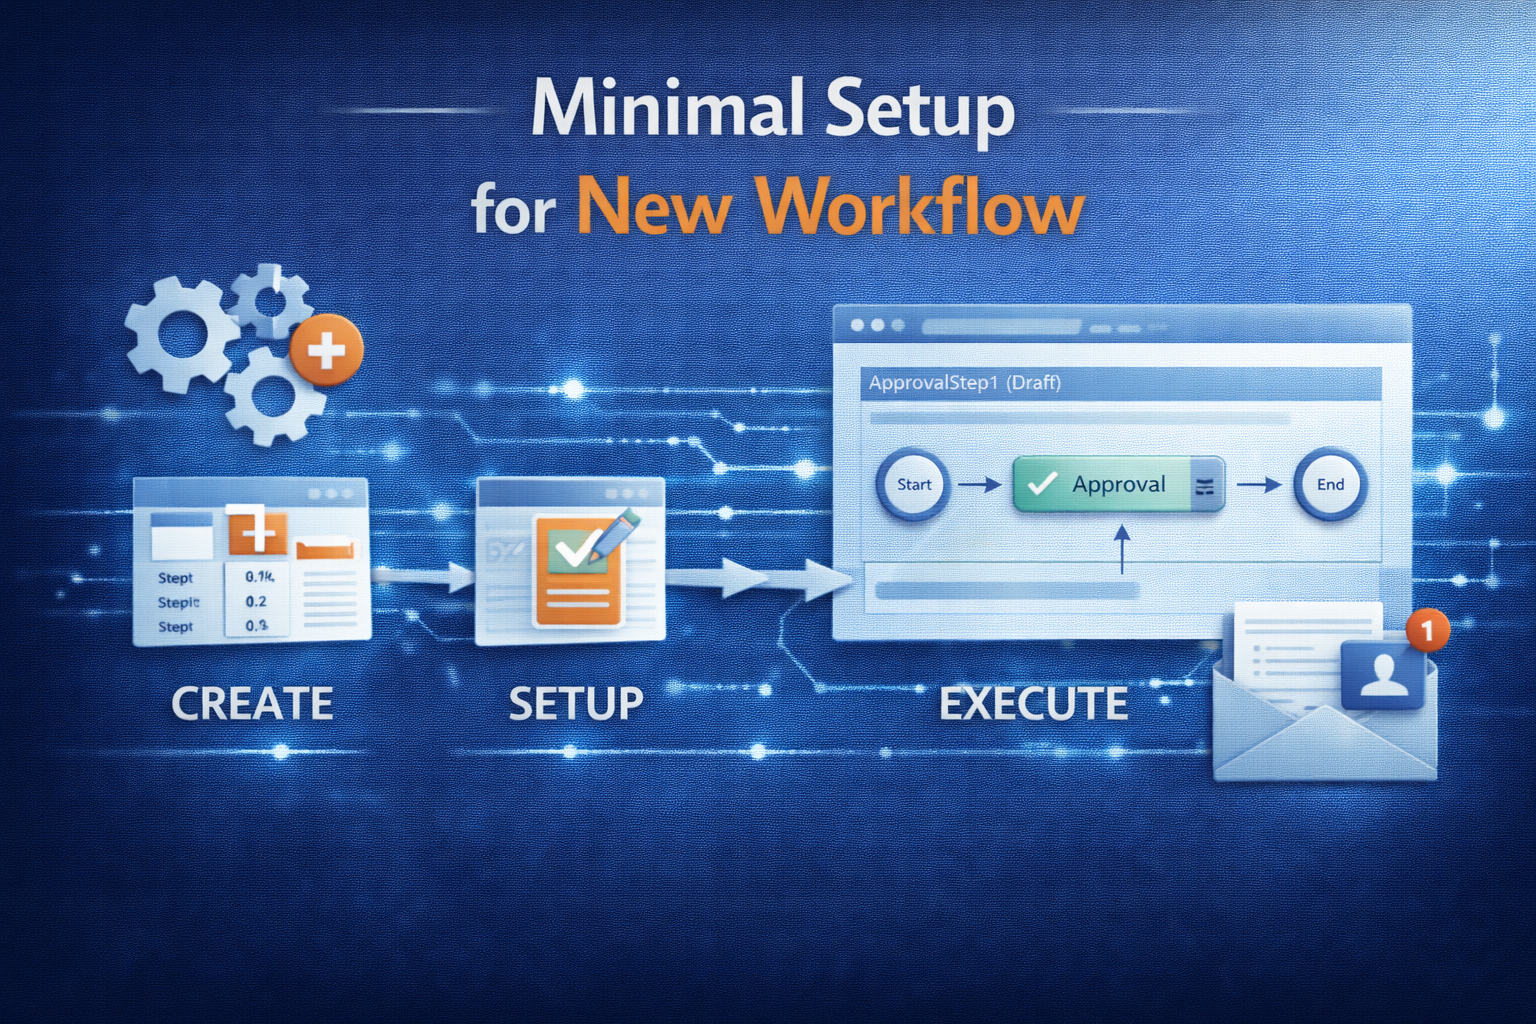
The section below describes briefly, the process of developing a new workflow.
Overview
To develop a new workflow, following artifacts or objects need to be created / modified:
- Workflow Categories
- Workflow Templates
- Workflow Query (Document)
- Workflow Approvals and Tasks (Tasks are optional)
- Enabling the workflows on the form
- Workflow submission classes
Let us go through each of these artifacts one by one:
Create Workflow Categories
A workflow category defines the module in which the workflow will be available. Modules are defined by the SysModule enum. You will be doing following here:
- Create a new category in workflow categories node (AOT>>Workflow>>Workflow Categories)
- Specify the name and module to which it belongs
Create Workflow Templates (AX 2012: Workflow Types)
A workflow template brings all the different elements of the workflow together. Workflow configurations are created based on a template, and many configurations can be based on the same template. The template defines which actions are allowed and which are required.
You will be doing following here:
- Create a new template in the workflow templates node (AOT>>Workflow>>Workflow Templates) (AX 2012: AOT>>Workflow>>Workflow Types)
- Specify a name and category to which it belongs
Next we create a work flow document.
Create Workflow Document
A query defines what tables are used to determine that a workflow can be initiated. Here you will do the following
- Create a new query (AOT>>Queries)
- Specify a name and Add required tables to the data source.
- Create a new class extending from WorkFlowDocument class (AOT>>Classes)
- Override the method getQueryName and return the name of newly created query
- Save the class
- Once query and its supporting class is created, attach this to Workflow template (Specify it under the Document property of template; AX 2012: type)
Next step is to attach Approvals and / or Tasks
Create Workflow Approvals (or Tasks):
An approval route may contain a number of outcomes. It may be approved, rejected, returned or a change may be requested (For task it will be complete, reject or request change). The Workflow Approval element determines which of these outcomes is allowed and what happens in the event of each outcome. Each outcome can trigger specific code by specifying a menu item for each item. Do the following to create an approval
- Create a new approval object in the Approvals node. (AOT>>Workflow>>Approvals)
- Specify a unique name for the approval
- Specify the Document (The class created for query) in the Document property
- Specify ParticipantProvider. Normally you specify WorkflowUserGroupParticipantProvider, but you can create your own participant provider. (Missing in AX 2012)
- Specify DueDateProvider. Normally you specify WorkflowWorkCalendarDueDateProvider, but you can create your own due date provider. (Missing in AX 2012)
- Specify HierarchyProvider. Normally you specify WorkflowLimitHierarchyProvider, but you can create your own hierarchy provider. (Missing in AX 2012)
- Set the DocumentMenuItem to form menu item where you want the workflow to appear (Example sales order etc.)
- Approval Outcomes:
- Use a standard class that acts as an engine for all approval outcomes
- You are not required to do anything but set the workflow to applicable outcomes, therefore call the same class from different menu items. The menu items simply allow you to use two different labels. In more complex workflows it may be necessary to override or copy and modify this class rather than use it directly. Example: If you have to set an outcome for Approved do the following:
- Create a new Action type menu item and specify a name to it
- Set ObjectType property to Class and Object property to WorkflowWorkItemActionManager
- Now get to Workflow>>Approvals>>Approval_you_created>>Outcomes>>Approve node and specify ActionMenuItem as new menuitem created before.
- Repeat Step 2 for all the outcomes you need
- If you do not need an outcome you can simply disable it by changing Enabled property to No
- Once completed, drag and drop this approval (or task) into the previously created workflow template (AX 2012: Worfklow Type)
Enable workflow on a form
Now that the workflow template is defined, you can specify which forms will use this template. Do the following:
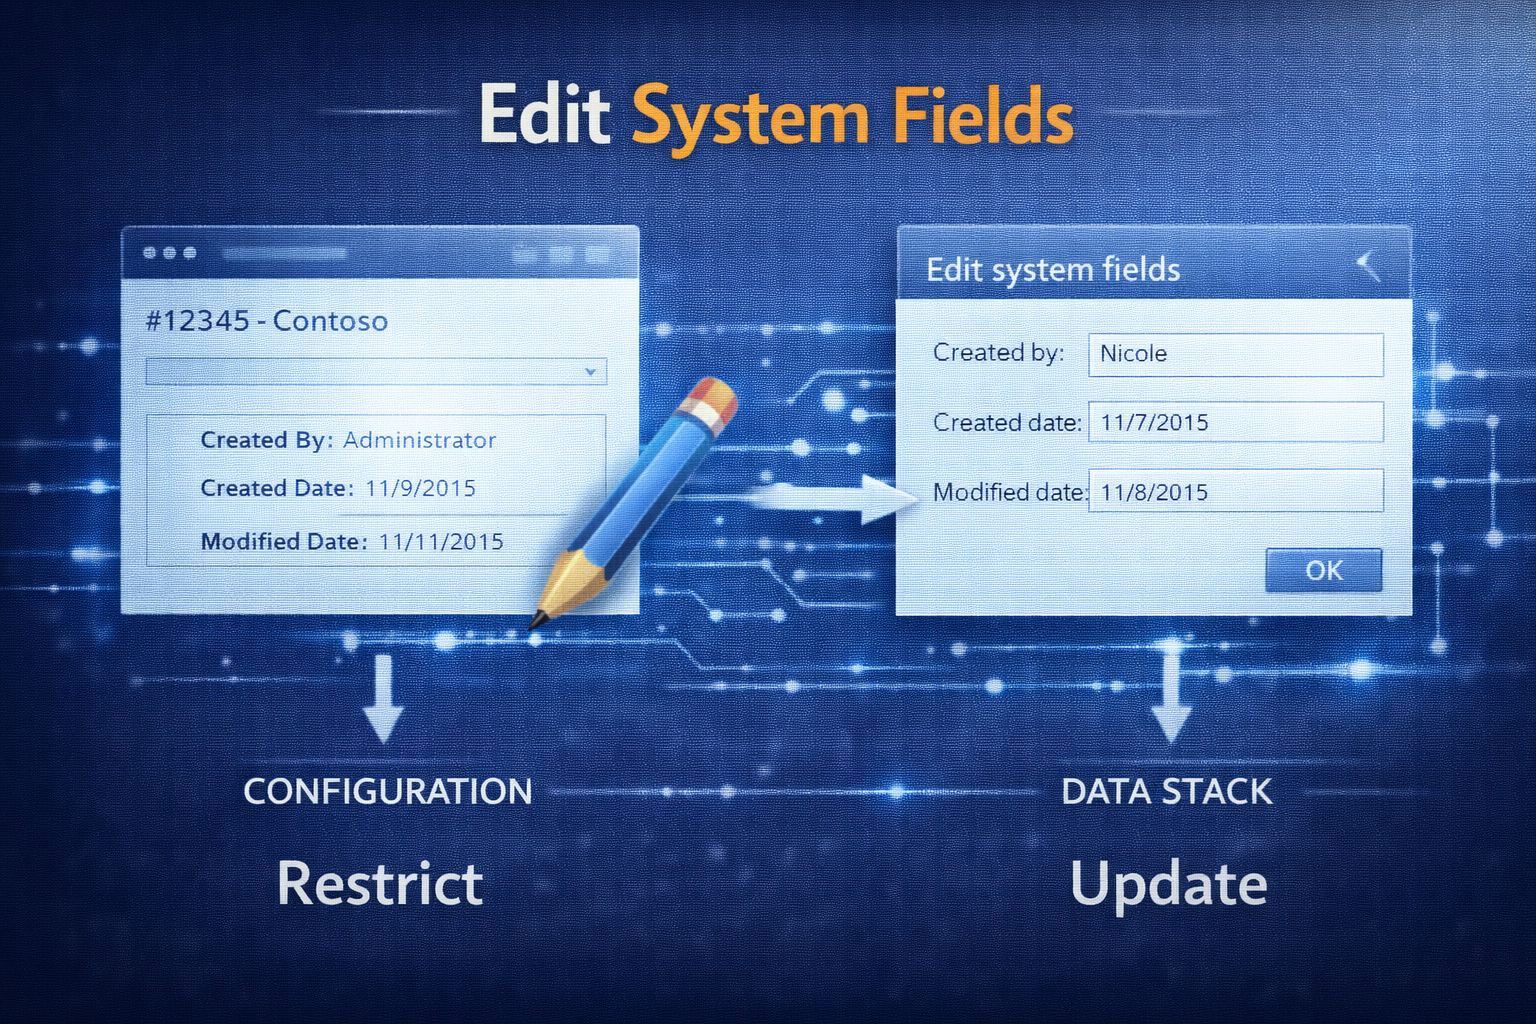
- Add a WorkflowState field (More can be added by CreatedBy, Time, Status etc.) to the required table
- In the desired form, go to the design node properties and set property WorkFlowEnabled to “Yes”, set the WorkFlowDataSource (the table of the previous step) and (AX 2012 only) set the WorkflowType as defined above.
- If you want, you can override the method canSubmitToWorkflow on the form and specify conditions when user can submit the record to workflow
After enabling the workflow on class, create a class to submit the records to workflow
Create a Submit to Workflow class
To submit a document to workflow, call standard code to prompt the user for a comment and to process the submission. (Look at PurchReqWorkflow class for an example)
- After creating the submit to workflow class, create a corresponding action menu item
- Now traverse to the workflow template (AX 2012: Worfklow Type) and specify this submit to workflow class menu item on the SubmitToWorkFlowMenuItem property
- Once this is done you can then configure the workflow and test it. (You can refer the Workflows – Installation and Configuration document that I sent earlier for configuring the workflows)
This will give you a broad idea as to what needs to be done for creating a workflow.
Compile
In AX 2012 it is required to update CIL before the Workflow can be configured.
(updated for AX 2012 on 07/07/2014)